The Order of Warmth: Sequencing Insulation Before a Three Counties Renovation Gets Away From You

Photo: home insulation retrofit loft installation UK, via homedecorideas.uk
Insulation retrofits tend to arrive at an awkward moment. A homeowner in Herefordshire, Worcestershire or Gloucestershire decides to renovate a kitchen, convert a loft or replace render, and the question of fabric performance surfaces midway through the design. By then, the order of work is often fixed: finishes have been chosen, openings agreed and trades booked. Insulation becomes something to squeeze into the gaps rather than the thing that should quietly determine where the gaps are.
The result can be a home that is warmer in one room and colder in the next, or one where a new layer of insulation creates a moisture problem that did not exist before. The purpose of this article is not to recommend a single product. It is to set out a sequence: how to decide what to insulate, in what order, and how to avoid undoing the benefit with later work.
Start with the moisture question, not the U-value
A U-value describes heat flow through a material. It does not describe how that material behaves when water vapour reaches it. In older Three Counties properties, particularly solid-brick cottages, stone farmhouses and timber-framed buildings, the moisture route matters as much as the thermal target.
Before any insulation is specified, an installer should establish how the wall dries. Solid walls traditionally rely on a degree of breathability: moisture enters and leaves through the fabric. Adding impermeable insulation to the inside of such a wall can trap moisture within the structure, while adding it to the outside changes the wall's exposure and appearance. Neither is automatically wrong, but both require a considered detail, not a generic board.
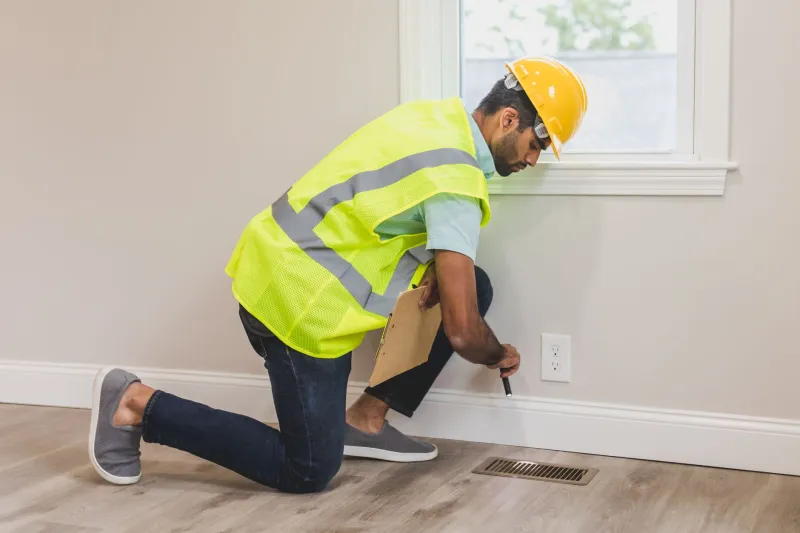
A practical first step is a moisture assessment, ideally by a retrofit assessor familiar with older stock. This should identify existing damp, rainwater penetration, raised ground levels, blocked airbricks and internal plumbing leaks. Insulating over a defect is not a shortcut; it is a way of hiding it until it becomes expensive.
Room-by-room is more useful than whole-house averages
The whole-house figure on an energy certificate can obscure the fact that insulation pays back unevenly. A room-by-room framework helps prioritise spend and avoids overcommitting to one measure.
- Loft or roof space. Usually the cheapest and least disruptive place to start. A well-installed loft quilt, kept clear of eaves ventilation, often delivers noticeable comfort improvements for a modest outlay. Payback is commonly in the region of two to five years, depending on existing levels and fuel type.
- Cavity walls. Where a property has an accessible cavity, injection insulation remains one of the more straightforward measures. It suits many post-war homes, but not all: the cavity must be clear, the wall ties sound and the exposure suitable. Payback is often quoted at five to ten years, though this varies with the property and the installer's survey.
- Solid walls. These require a more careful decision. Internal insulation reduces room sizes and demands attention to junctions, reveals and services. External insulation wraps the building but changes its appearance and may require planning permission in sensitive areas. Payback can extend well beyond fifteen years, so comfort, condensation control and kerb appeal often matter more than a simple financial return.
- Floors. Ground-floor insulation is disruptive and usually best done when a floor is already being replaced. It is rarely a standalone first measure, but it can be a sensible addition during a renovation.
- Windows and doors. These are not insulation in the strict sense, but poor glazing and draughty frames can undermine the benefit of wall improvements. Replacing them solely for thermal reasons is rarely the cheapest route; draught-proofing and secondary glazing may be more proportionate.
Ventilation is part of the specification
As fabric performance improves, a home becomes less leaky. That is broadly desirable, but it changes how moisture-laden air behaves. Cooking, bathing, drying laundry and even breathing produce vapour. In a tighter house, it needs a deliberate route out.
Before adding insulation, an installer should set out a ventilation strategy. In many cases, trickle vents, extract fans and background vents are sufficient, provided they are maintained and not blocked. In more comprehensive retrofits, mechanical ventilation with heat recovery may be proposed. It is a significant addition and should be justified by the airtightness target, not added as a sales extra.
The trade-off is real: a well-insulated but poorly ventilated home can suffer condensation, mould and degraded indoor air quality. That is not a reason to avoid insulation. It is a reason to treat ventilation as part of the same package.
Payback, comfort and the limits of the spreadsheet
Insulation is often sold on payback, but payback is a narrow measure. It depends on fuel prices, occupancy patterns, the existing fabric and the quality of installation. A measure that looks marginal on a spreadsheet may still be worthwhile if it removes a cold spot, reduces draughts or makes a room usable in winter.
For homeowners planning a renovation, the more useful question is not 'what is the payback?' but 'what is the cost of doing this now versus doing it later?' Insulation installed during a renovation can share access, scaffolding and making-good costs. Installed afterwards, it often means disrupting finishes that have just been completed.
Sequencing alongside a renovation
A practical order of work usually runs as follows. First, survey and remediate moisture and structural defects. Second, decide the ventilation strategy. Third, insulate the loft and any accessible cavity walls. Fourth, address solid walls, floors and windows where they form part of the renovation. Fifth, complete airtightness measures at junctions, penetrations and loft hatches. Finally, install finishes and make good.
The critical point is that insulation should be decided before first-fix services are finalised. Cables, pipes and downlights can compromise a carefully installed layer if their routes are not planned. Similarly, external insulation should be settled before new render, cladding or rainwater goods are specified.
Questions to put to an installer
Before committing, ask for the following in writing:
- How have you assessed moisture risk, and what evidence supports the proposed build-up?
- What ventilation provision is included, and who is responsible for commissioning it?
- Are you working to a recognised retrofit standard, and are your installers certified for the specific measures?
- What guarantees apply, how long do they last, and are they insurance-backed?
- How will the work interface with existing services, and what making good is included?
- What happens if a defect is found after the insulation is in place?
A well-sequenced insulation retrofit is not glamorous. It rarely features in the finished photographs. But it is one of the few parts of a renovation that continues to pay attention to the house long after the scaffolding has gone.